
It feels like ages since I last stepped into my hobby house with a head full of creative ideas, but this weekend, I made it a priority to get back into the groove.
One project had been on my mind for a while: cutting acrylic. I’d been wanting—no, needing—to experiment with this material. Acrylic is an essential substrate for creating modern, eye-catching designs, and I had purchased various colors before Christmas. I just needed uninterrupted time to test and figure things out.
It only took me about 1 minute to dial in the laser’s power and speed—beginner’s luck. Let me tell you—cutting acrylic is a dream. It’s so smooth and effortless, like slicing through butter. But I didn’t stop at cutting. I wanted to try something more intricate: using acrylic as an inlay with a birch skeleton edge.
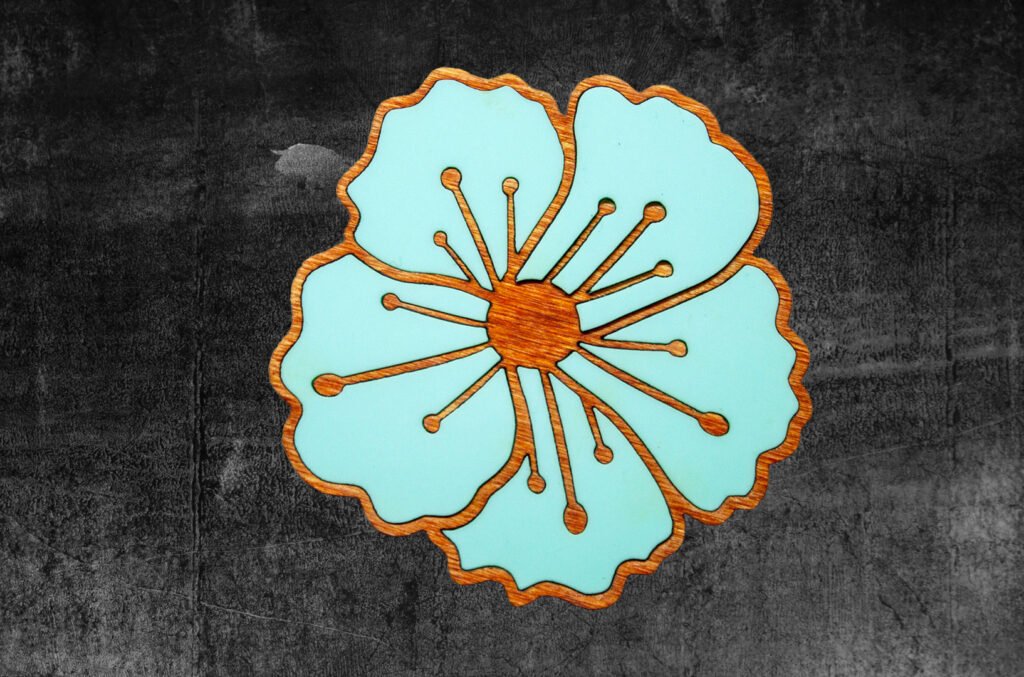
My vision was a hibiscus flower design with a birch skeleton and vibrant acrylic petals. The concept was clear in my mind, but bringing it to life was a process. Designing the flower and its delicate stems took an evening, but the effort paid off. When I cut the birch skeleton, it came out exactly as I’d imagined.
Next came the trickiest part: figuring out the laser kerf for cutting acrylic. Getting the fit just right took some patience—calculate, cut, test, recalculate. But once I nailed it, the petals snapped snugly into the wooden skeleton.
For the first version, I used a beautiful seafoam-colored acrylic, and it turned out stunning. I can already see other colors like fuchsia or red creating equally amazing results.
Now that I’ve mastered the basics, I’m ready to scale up this design. I envision using a larger version of the hibiscus flower in a statement piece—maybe a sign with layered elements. But there’s still more to learn and a few more techniques I want to develop before I tie everything together.
This weekend was exactly what I needed. Learning, experimenting, and creating—it reminded me why I love doing this so much.
Stay tuned for what’s next. This is just the beginning.